Skip to content
Start by mapping your fixture layout, supply runs, drain paths, vents, shutoffs, and cleanouts, then size pipes for demand and distance. Check local code, permits, and backflow rules before rough-in. Pick materials that fit the job and your tools, and don’t mix incompatible metals. Keep drains pitched about 1/4 inch per foot and protect trap vents. Dry-fit, assemble with correct joint methods, pressure-test lines, and add accessible, labeled shutoffs. Keep going to learn the next steps.
Key Takeaways
- Map fixture locations, supply runs, drains, vents, shutoffs, and cleanouts before starting to avoid costly rework.
- Confirm local code, permits, backflow requirements, and inspection steps early to prevent failed inspections and unsafe installations.
- Choose correct pipe materials and diameters for demand, pressure loss, and temperature, and avoid mixing incompatible metals.
- Maintain proper drain slope (about 1/4 inch per foot) and clear vent paths to prevent slow drainage and siphoned traps.
- Pressure-test supply lines and inspect every joint before closing walls, and add accessible, labeled quarter-turn shutoffs at fixtures.
Plan the Plumbing Layout and Pipe Sizing First
Before you cut into walls or glue a single fitting, map out your entire plumbing layout and confirm your pipe sizing. Sketch every fixture, supply run, and drain path, then mark shutoffs, cleanouts, and vent routes so you don’t paint yourself into a corner.
Keep runs short, avoid needless bends, and plan straight access for future repairs. Choose diameters based on demand and distance, not guesswork. If you undersize, you’ll fight low flow and noisy lines; if you oversize, you waste space and materials and may slow drainage.
Calculate fixture load, note pressure losses through elbows and long runs, and match hot and cold lines for balanced performance. As you plan, select installation techniques that fit the job—like using sweeps instead of tight elbows on drains and leaving room for proper hangers and expansion.
Measure twice, buy once.
Check Plumbing Code and Permits Before You Start
Once you’ve nailed down your layout and pipe sizes, line your plan up with local plumbing code and pull the permits your project requires. Plumbing regulations vary by city and sometimes by neighborhood, so don’t rely on what worked elsewhere. Call the building department, ask for the latest code references, and confirm your permit requirements for rough-in, final, or separate trades.
| Task | Why it matters | Who to contact |
| Verify fixture counts | Prevents undersized systems | Plan reviewer |
| Check venting rules | Avoids sewer-gas issues | Plumbing inspector |
| Confirm shutoff locations | Speeds emergency control | Inspector |
| Review backflow needs | Protects potable water | Water authority |
| Schedule inspections | Keeps work legal | Permit clerk |
Keep your approved plans on-site, post the permit if required, and document any field changes before you cover walls or trenches. You’ll save time, fines, and rework.
Choose the Right Plumbing Pipe and Fittings
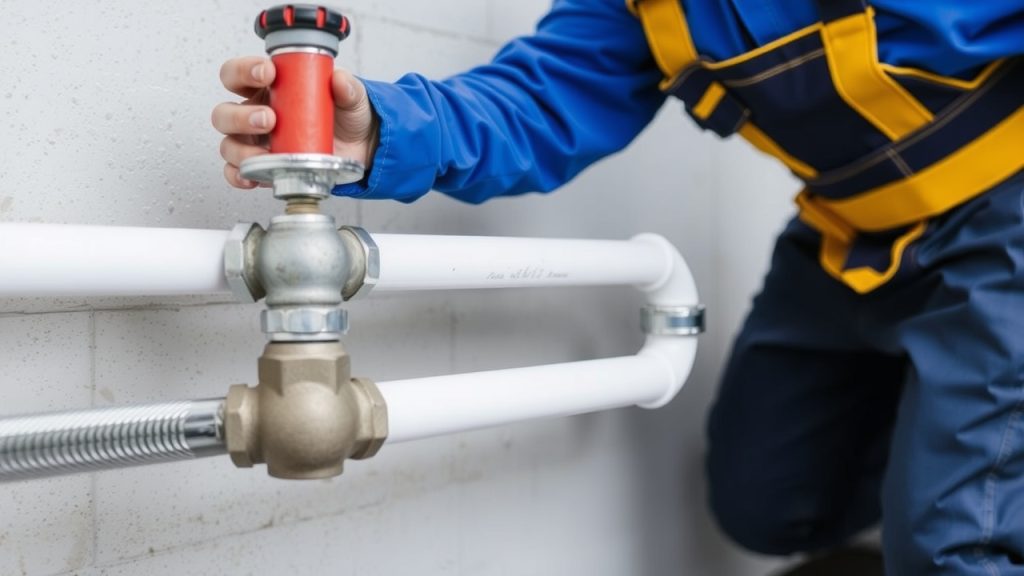
A few smart pipe and fitting choices can make your installation faster, quieter, and far less leak-prone.
Start by matching pipe materials to the job: PEX works well for supply lines because it’s flexible and resists corrosion; copper handles heat and UV but costs more; CPVC suits hot and cold supply yet needs careful solvent cementing; PVC is best for cold-water and many drain applications, not hot supply.
Next, choose fitting types that fit your tools and skill. Crimp or clamp PEX fittings are quick and reliable when you use the correct gauge.
Push-to-connect fittings speed repairs, but you’ll pay more and must cut square, clean ends. For solvent-weld PVC/CPVC, you must prime, glue, and fully seat joints before they set.
Use connector fittings when changing materials, and don’t mix incompatible metals that can corrode over time.
Plan Drain Slope and Venting Before Rough-In
Before you start rough-in, you’ll need to calculate proper drain pitch so waste flows cleanly without pooling.
Map your vent routes early so traps don’t siphon and fixtures drain smoothly.
Then verify your layout meets local code requirements before you cut, drill, or glue anything.
Calculate Proper Drain Pitch
If you calculate drain pitch early, you’ll prevent slow drains, clogs, and siphoned traps long before the walls close up. Aim for steady fall—typically 1/4 inch per foot on small lines—so waste moves, but water doesn’t outrun solids.
Do a quick slope calculation from fixture to stack, then confirm you can maintain grade through joists, beams, and turns without creating bellies or flat spots. Choose drainage solutions that fit the route instead of forcing extra fittings that steal pitch.
Picture your run like this:
- A level line snapped on studs showing start and end heights
- A tape measure marking feet, with each foot dropping the right amount
- A test-fit pipe run that stays supported and continuously downhill
Recheck after each hangar, since small errors add up fast.
Map Vent Routes Early
Because drain slope and venting share the same tight wall and ceiling space, map your vent routes early so you don’t paint yourself into a corner at rough-in.
Sketch each fixture’s trap arm, then trace the shortest, straightest path to a main vent stack while staying clear of beams, headers, and future duct runs. Keep vent lines rising whenever possible so they don’t trap water, and decide where you’ll combine vents so you minimize fittings and roof penetrations.
During vent route planning, mark clean intersections with drains so you don’t steal the slope you just calculated. Also settle vent pipe sizing now; upsizing later can force you to open framing or relocate tees.
A clear plan saves cuts, time, and callbacks later.
Verify Code Compliance Layout
With your vent routes mapped, check the entire rough-in layout against local code so your drain slope and venting will pass inspection the first time. Confirm code requirements for pipe size, trap arm limits, cleanout placement, and approved fittings before you glue or strap anything.
Then verify your layout considerations: every branch needs consistent fall, and every fixture needs a protected trap and a clear vent path.
- Picture a level line on studs, then mark a steady 1/4-inch-per-foot slope to the main drain.
- Picture vents rising vertically before turning, staying above flood rims where required.
- Picture cleanouts facing accessible directions, not buried behind framing or cabinets.
If something conflicts, adjust now. Small reroutes beat costly open-wall fixes later.
Measure and Dry-Fit Each Plumbing Pipe Run
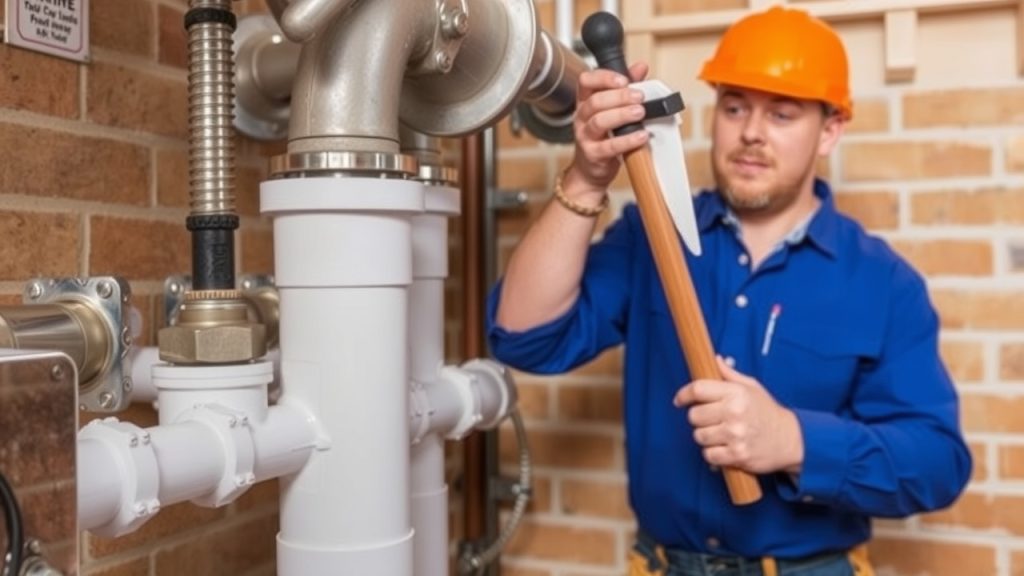
Two habits prevent most plumbing headaches: measure carefully and dry-fit every pipe run before you glue, solder, or crimp anything.
Start by confirming your reference points—fixture centers, stud faces, and finished-wall thickness—so your cuts land where you expect. Measure twice, mark clearly, and account for insertion depth into fittings so your overall run length stays true.
Confirm reference points—fixture centers, stud faces, finished-wall thickness—then measure twice and factor fitting insertion depth for true run lengths.
Next, assemble the entire run dry on the floor or in place. Check pipe alignment with a level and by sighting along the run; small twists can stack into big offsets.
Make fitting adjustments now: rotate elbows, tweak trap arms, and shift supports until everything sits square and stress-free. Verify slope on drains, clearance from framing, and access for shutoffs and cleanouts.
Once the dry-fit looks right, label pieces and orientation marks so you can reproduce the layout quickly during final assembly without guesswork.
Use the Right Joint Method for Each Pipe Type
A careful dry-fit shows you where every connection lands, but the job only holds up if you join each pipe with the method it’s designed for.
Match joint types to the material so your pipe connections stay aligned, supported, and serviceable. Copper wants clean, reamed ends and a properly heated soldered joint; rushing heat or skipping prep leads to weak bonds.
PVC and ABS rely on primer (for PVC where required) and solvent cement that softens the pipe and fitting so they fuse—work fast, push fully home, and hold briefly.
PEX typically uses crimp, clamp, or expansion fittings; follow the tool’s gauge and keep rings square to avoid uneven grabs.
- A bright copper stub-out with a neat sweat elbow tight to the framing
- A PVC trap arm seated to the fitting’s stop, cement bead even all around
- A PEX manifold line with straight runs and evenly crimped rings at each tee
When materials meet, use approved connector fittings only.
Pressure-Test Supply Lines and Check for Leaks
Before you close walls or bury runs, pressure-test every new supply line so you catch leaks while fittings stay accessible. Cap the ends, connect a test gauge, and pressurize with water or air to the level your code and pipe rating allow. Hold pressure long enough to spot slow drops; even a small decline signals a problem.
Walk the entire run and inspect each joint and connection. Use a bright light and dry paper towel to find moisture, and apply a soap solution for air tests to reveal bubbles. If you find a leak, depressurize, remake the connection, and retest until the gauge stays steady.
Don’t ignore tiny weeps—today’s drip becomes tomorrow’s damage. Document the test pressure and duration for your records. Consistent testing is core to leak prevention and sets you up for reliable supply line maintenance over the system’s life.
Add Shutoffs and Access Points for Repairs
Add individual shutoff valves at each fixture so you can isolate a sink, toilet, or appliance without cutting water to the whole house.
Build in service access panels for concealed connections and components, so repairs don’t require opening walls or ceilings.
Label every valve and test it after installation to confirm it fully shuts off and operates smoothly.
Install Individual Fixture Shutoffs
Although it’s tempting to rely on a single main shutoff, installing individual fixture shutoffs at each sink, toilet, and appliance lets you isolate problems fast without cutting water to the whole house.
Plan shutoff valve installation wherever a supply line branches, and place valves where you can reach them quickly for true fixture accessibility. Use quarter-turn stops for reliability, and label hot and cold lines so you don’t guess during a leak.
After you tighten connections, cycle each valve open/closed to confirm smooth operation and no drips. Picture the payoff during a midnight emergency:
- You close one toilet’s valve and the rest of the home stays usable
- You swap a faucet cartridge without draining lines
- You stop a washer hose leak before it floods the floor
Provide Service Access Panels
Fixture shutoffs work best when you can reach them, so plan service access panels wherever valves, traps, cleanouts, or appliance connections sit behind finished walls.
Put panels behind tubs, shower valves, washer boxes, and island vents so you can service parts without cutting drywall.
Choose access panel types that match the location: paintable plastic for drywall, gasketed metal for garages or damp spaces, and tile-in panels for showers.
Size the opening for both your hand and a wrench, not just the valve body.
Follow installation tips: frame the opening, keep edges square, and fasten to solid blocking so the panel won’t rattle.
Maintain required fire and vapor barriers, and keep insulation intact around pipes.
Label And Test Valves
Two quick habits can save you hours later: label every shutoff and then prove it works before you close up walls.
Use clear tags that match rooms and fixtures, and note valve types so anyone can react fast during a leak. Install shutoffs where you can actually reach them, not buried behind cabinets or tile, and add access points for future repairs.
- A tagged quarter-turn stop under each sink, facing forward
- A main shutoff with a bold label near the meter, with a clear path
- A branch valve in a ceiling box for tubs, tied to an access panel
Test each valve by cycling it closed and open while watching flow. That quick check supports valve maintenance and catches stuck, misplumbed, or hidden valves.
Frequently Asked Questions
What Does Plumbing Installation Typically Cost for a New Home or Remodel?
You’ll typically pay $4,000–$15,000 for a new home, or $1,500–$8,000 for a remodel. Your cost breakdown depends on installation factors like fixture count, pipe material, accessibility, permits, and local labor rates.
How Long Does a Typical Plumbing Installation Take From Start to Finish?
You’ll usually finish a typical plumbing installation in 3–10 days, but your installation timeline varies. Your project duration depends on home size, rough-in versus fixture work, inspections, and whether you face reroutes or delays.
Should I Hire a Licensed Plumber or Can I DIY the Installation?
You should hire a licensed plumber for complex or code-required work, but you can handle a DIY installation for simple swaps if you’re confident. You’ll reduce leak risks, pass inspections, and avoid costly repairs.
What Are Common Signs of Poor Plumbing Installation After Completion?
You’ll notice poor installation if you get leaky faucets, fluctuating water pressure, frequent clogs, gurgling drains, sewer odors, damp spots, or water stains. You’ll also hear banging pipes, see loose fixtures, or find recurring leaks at joints.
What Maintenance Is Needed After Installation to Prevent Future Plumbing Issues?
You’ll prevent issues by doing regular inspections for leaks, corrosion, and loose fittings, cleaning aerators and drains, flushing the water heater, testing shutoff valves, maintaining water pressure, and scheduling annual professional checkups as preventive measures.
Final Thoughts
When you tackle plumbing installation, you’ll get better results by planning first and working to code. Map your layout, size pipes correctly, choose materials that match the job, and plan your drains, slope, and vents before you rough-in. Measure twice, dry-fit every run, and use the right joining method for each pipe type. Once everything is connected, pressure-test supply lines, fix even small leaks immediately, and add shutoffs and access points so future repairs don’t turn into a teardown.
If you’d rather have a licensed team handle the details, DNA Honest Plumbing can help with everything from new installs to remodels—whether you need interior plumbing, exterior plumbing, plumbing fixture installation, or full pipe replacement and pipe repair. Our licensed pros follow local code, document their work, and support long-term reliability with professional plumbing services tailored to your project.
Whether you’re planning a new build, upgrading outdated lines, or correcting past installation issues, don’t wait until small mistakes become major leaks. Learn more about DNA Honest Plumbing, explore our full range of expert plumbing services, or reach out through our contact page to schedule your plumbing installation or consultation today. If you’re already facing an urgent issue, our 24/7 emergency plumbing services are ready to respond and protect your home from preventable damage.