Skip to content

If your water heater’s acting up, you need to act fast! Start by checking for common issues like no hot water or leaks. Always prioritize safety: turn off the power and locate the emergency shut-off. For no hot water, inspect connections and heating elements; for leaks, pinpoint the source. If you’re unsure or face recurring problems, it’s wise to call a professional. There’s more valuable information ahead to help you tackle these urgent repairs!
Key Takeaways
- Identify common issues like no hot water, leaks, or strange noises to diagnose problems quickly.
- Always prioritize safety by turning off power and wearing protective gear before attempting repairs.
- For no hot water, check power supply, heating elements, and thermostat settings using a multimeter.
- Repair leaks promptly by locating the source and using appropriate tools like plumber’s tape and a pipe wrench.
- Consider calling a professional for persistent issues or if the unit is over ten years old to avoid costly mistakes.
Recognizing Common Water Heater Problems
When your water heater starts acting up, it can be frustrating, especially if you don’t know what to look for. First, consider the water heater’s age; most units last around 10-15 years.
Common symptoms include fluctuating water temperatures, odd noises, or rusty water, which may indicate poor water quality. If you notice these issues, check the maintenance frequency; regular upkeep can boost energy efficiency and extend your appliance’s lifespan.
Troubleshooting basics involve inspecting for leaks, confirming the thermostat is set correctly, and examining the heating elements.
Replacement signs can include persistent leaks or an inability to heat water effectively. Addressing these problems early can save you from costly repairs or a complete replacement down the line.
Safety First: What to Do Before Starting Repairs
Before diving into any water heater repairs, it’s vital to prioritize safety. Start by gathering your safety gear, including gloves and goggles, to protect yourself from potential hazards.
Make sure you’re aware of any electrical hazards; turn off the power at the circuit breaker to avoid shocks.
Ensure you identify electrical hazards and switch off the power at the circuit breaker to prevent any risk of electric shock.
Next, locate the emergency shut off valve for your water heater. Familiarizing yourself with this valve can be important in case of an unexpected leak or malfunction.
For leak prevention, check for any visible signs of wear or damage before you start.
If you notice any leaks, it’s best to address them immediately to avoid further complications.
How to Diagnose the Issue With Your Water Heater?
After ensuring your safety and turning off the power, it’s time to figure out what’s wrong with your water heater. Start by checking the water temperature. If it’s too low or too high, you might’ve a thermostat malfunction.
Next, look for pressure issues; high or low pressure can indicate other underlying problems. Sediment buildup can also affect performance, especially if your heater is older—age factors play a significant role in efficiency.
If you have an electric water heater, inspect for electrical problems like tripped breakers or faulty wiring. For gas models, make sure the gas supply is uninterrupted and check for venting issues that could hinder operation.
Fixing a No Hot Water Situation: A Step-By-Step Guide
When you find yourself with no hot water, the first step is checking your power supply. A tripped breaker or blown fuse could be the culprit.
If that’s not the issue, inspecting the heating element is your next move.
Check Power Supply
Have you checked the power supply to your water heater yet? This is an essential step in diagnosing your no hot water issue. Start by verifying the power source is connected and functioning. Look for tripped circuit breakers or blown fuses that may indicate electrical issues.
Here’s a quick checklist to guide you:
| Action | Description |
| Check Circuit Breaker | Confirm it’s in the “On” position. |
| Inspect Fuses | Replace any blown fuses immediately. |
| Verify Connections | Make sure all wires are secure. |
| Test Voltage | Use a multimeter to check the supply. |
Inspect Heating Element
To guarantee your water heater is functioning properly, inspecting the heating element is essential.
First, identify the heating element types—usually either a regular or a high-watt density element. Next, turn off the power supply to avoid any accidents.
Use a multimeter for element testing methods; check for continuity by connecting the leads to each terminal. If the meter doesn’t show continuity, the element is likely faulty and needs replacement.
Look for signs of corrosion or damage while you’re at it. Once you’ve assessed the heating element, you can decide whether to repair or replace it.
Regular inspections can save you from unexpected cold showers, so make this a part of your maintenance routine!
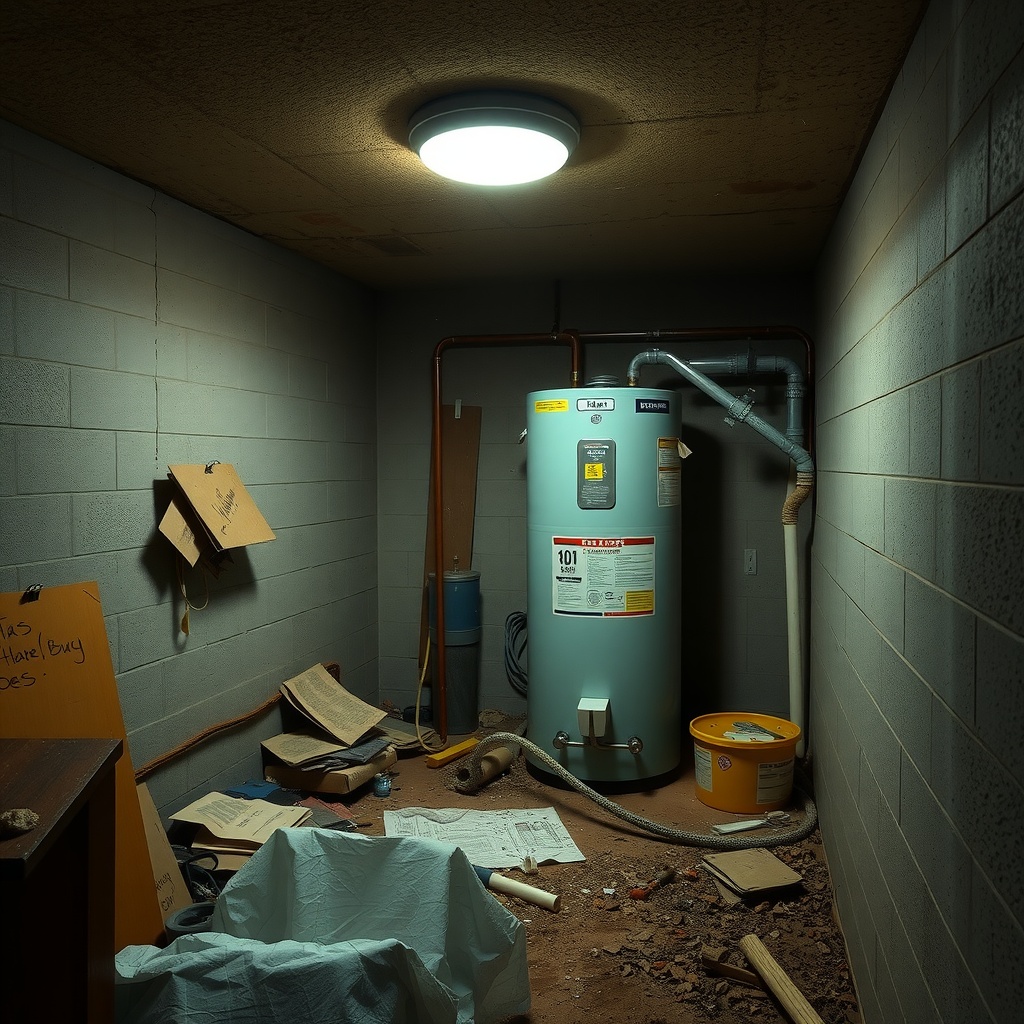
Repairing Leaks in Your Water Heater
If you notice water pooling around your water heater, it’s essential to act fast.
First, you’ll need to identify the leak’s source, then you can use the right repair techniques and tools to fix it.
Let’s explore how to tackle this issue effectively.
Identify The Leak Source
While leaks in your water heater can cause significant damage, pinpointing the source is the first essential step in repairs.
Effective leak detection helps you save time and prevent further issues. Here’s how to identify the leak source:
- Inspect the Fittings: Check the connections and valves for moisture or rust, as these are common leak points.
- Examine the Tank: Look for cracks or corrosion on the tank itself. A damaged tank often leads to leaks.
- Check the Drain Valve: Confirm the drain valve is tightly closed and not leaking. This valve is frequently overlooked.
Repair Techniques And Tools
Repairing leaks in your water heater requires the right techniques and tools for effective results. Start by turning off the power and water supply. Use a pipe wrench for tightening connections and plumber’s tape for sealing threaded joints. If the leak persists, you may need to replace a faulty valve or fitting.
Here’s a handy table to summarize the essential repair techniques and necessary tools:
| Repair Technique | Necessary Tools |
| Tighten Connections | Pipe Wrench |
| Seal Threaded Joints | Plumber’s Tape |
| Replace Valves/Fittings | Adjustable Wrench |
| Check for Corrosion | Wire Brush |
With these techniques and tools, you’ll tackle leaks confidently and efficiently!
Identifying Strange Noises: Diagnosis and Solutions
Strange noises coming from your water heater can signal underlying issues that need attention. By identifying the noise types, you can take appropriate troubleshooting methods to resolve the problem.
Here are three common noises and their potential causes:
- Banging or Knocking: This often indicates sediment buildup in the tank. Flushing the tank may help.
- Hissing or Sizzling: This sound can mean a leak is causing water to drip onto hot surfaces. Check for leaks immediately.
- Popping or Bubbling: This usually signals overheating or trapped air. Adjusting the thermostat or calling a professional may be necessary.
Listening closely to these noises can help you diagnose your water heater’s condition.
Taking prompt action can prevent further damage and guarantee your water heater runs efficiently. Don’t ignore those sounds; they’re your heater’s way of asking for attention!
How to Properly Reset Your Water Heater
When your water heater isn’t working right, resetting it can often do the trick.
First, you’ll need to locate the reset button, usually found on the thermostat.
Once you’ve found it, follow the reset procedure step by step to get everything back on track.
Identify Reset Button Location
Finding the reset button on your water heater can be a straightforward task that helps restore hot water quickly. This button is essential for troubleshooting issues. Here’s how you can locate it:
- Check the Access Panel: Look for a small panel on the side or front of the heater, usually secured with screws.
- Look for a Red Button: The reset button is often red and may be labeled. Gently press it if it’s popped up.
- Consult the Manual: If you’re unsure, your water heater’s manual will provide specific details about the reset button’s location.
Follow Reset Procedure Steps
To reset your water heater effectively, start by ensuring the power supply is turned off for safety.
Next, locate the reset button, usually found near the thermostat. Press and hold the reset button until you see the reset indicators light up, signaling that the heater is ready to restart.
After that, restore the power supply and wait for the water heater to heat up. If it doesn’t start, you might need to follow additional troubleshooting steps, such as checking for blown fuses or ensuring the thermostat is set correctly.
Regularly checking these components can prevent future issues and help maintain your water heater’s efficiency. Always prioritize safety during this process.
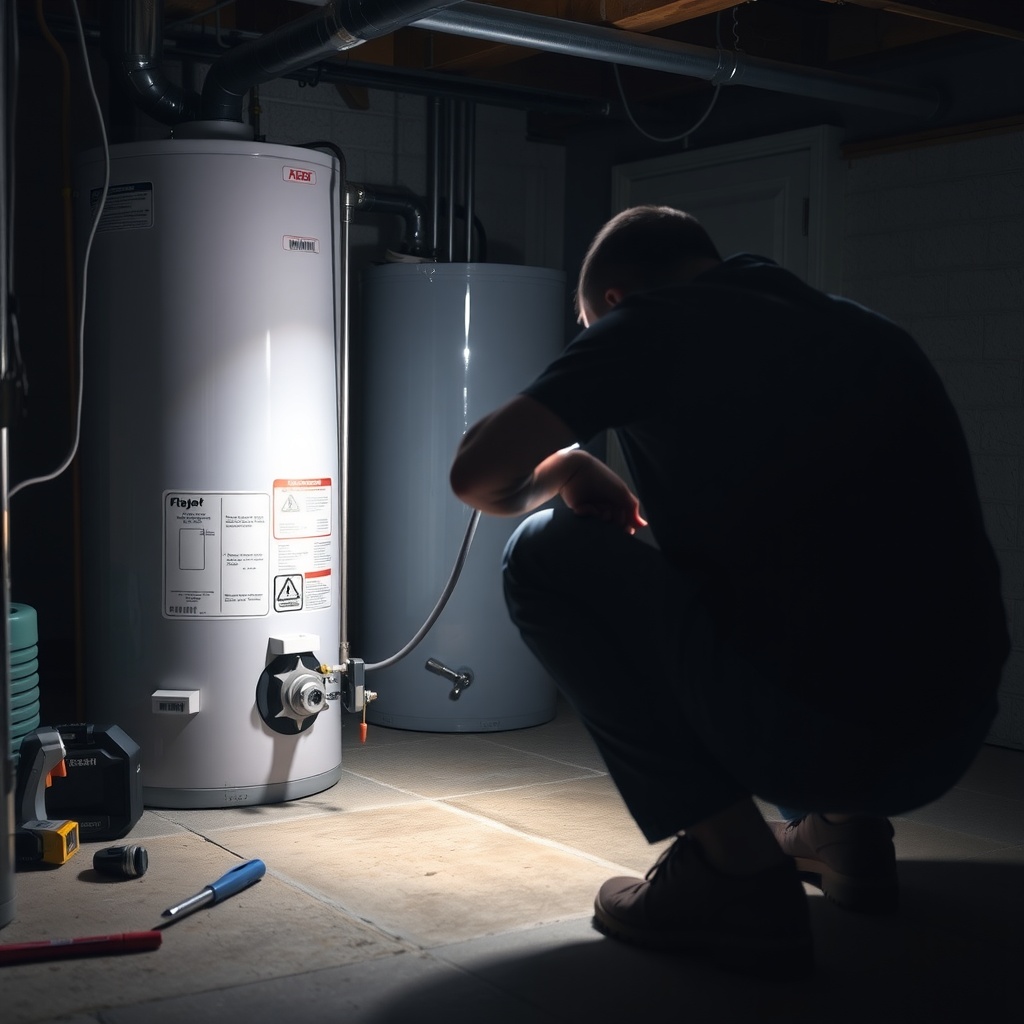
How to Replace Heating Elements
Replacing heating elements in your water heater can seem intimidating, but it’s a manageable task with the right approach.
First, identify the type of heating element you need—there are typically two types: screw-in and flange.
Next, gather your common replacement tools, which usually include:
- A multimeter (to test for electrical issues)
- A socket wrench (to remove the old element)
- A bucket (to catch any water)
Once you have everything ready, turn off the power and water supply.
Drain the tank partially, then remove the old element using the socket wrench.
Install the new element by screwing it in tightly, ensuring a good seal.
After that, reconnect the power and water supply.
Wait for the tank to fill, then check for leaks.
With patience and attention to detail, you’ll have hot water flowing again in no time!
When to Call a Professional for Water Heater Repairs
While tackling tasks like replacing heating elements can empower you to handle some water heater issues, there are situations when calling in a professional is the smarter choice.
If you notice leaks, strange noises, or inconsistent water temperature, it’s time to seek help. These signs could indicate deeper problems that may affect your water heater’s lifespan.
Additionally, if your unit is over ten years old and requires frequent repairs, a professional can assess whether it’s more cost-effective to repair or replace it.
Don’t hesitate to contact emergency services if you experience significant leaks or if your water heater isn’t heating at all, as these can lead to further damage.
Trusting a licensed technician guarantees your safety and that the job is done correctly, maintaining the efficiency of your system.
When in doubt, it’s best to call an expert to avoid costly mistakes.
Maintenance Tips to Prevent Future Water Heater Issues
Regular maintenance can greatly extend the life of your water heater and prevent unexpected issues. By following a solid maintenance schedule, you can keep your unit running efficiently.
Here are three vital tips:
- Check Water Quality: Make sure your water quality is good. Hard water can lead to sediment buildup, affecting performance and energy efficiency. Consider installing a water softener if necessary.
- Inspect the Anode Rod: Regularly check the anode rod for corrosion. This small component plays a significant role in corrosion prevention, protecting the tank’s interior.
- Adjust Temperature Settings: Set your water heater’s temperature to around 120°F. This not only enhances energy efficiency but also minimizes the risk of scalding.
Incorporating these maintenance tips into your routine can save you from costly repairs and guarantee your water heater operates smoothly for years to come.
Should You Replace or Repair Your Water Heater?
When faced with a malfunctioning water heater, how do you decide between repair and replacement? Start with a cost analysis.
If repair costs are less than half the price of a new unit and the heater’s relatively young, fixing it might be your best bet. However, if repairs are frequent and costly, consider a replacement.
Next, think about warranty considerations. If your heater is still under warranty, repairs might be covered, saving you money.
But if it’s out of warranty and you’ve already invested in several repairs, replacing it could be more economical in the long run.
Also, assess the efficiency of a new model. Modern heaters often use less energy, which can lower your utility bills.
Ultimately, weigh the current state of your water heater against your budget and long-term needs to make the best choice.
Frequently Asked Questions
How Often Should I Flush My Water Heater?
You should flush your water heater annually to maintain water quality and prevent sediment buildup. It’s a simple part of your maintenance schedule that helps guarantee efficiency and prolongs the life of your unit.
Can I Use My Water Heater During Repairs?
No, you shouldn’t use your water heater during repairs. Doing so can pose serious water heater safety risks. Always heed repair warnings to avoid accidents and guarantee your system functions safely once repairs are complete.
What Tools Do I Need for Water Heater Repairs?
You’ll need a screwdriver, pipe wrench, multimeter, and pliers for water heater maintenance. These tools help with troubleshooting tips, allowing you to diagnose issues effectively and make necessary repairs without hassle.
How Long Do Water Heaters Typically Last?
Water heaters typically last 8 to 12 years, depending on usage and maintenance. To extend your water heater’s lifespan, follow maintenance tips like flushing the tank annually and checking for leaks regularly.
What Should I Do in Case of a Gas Leak?
If you suspect a gas leak, evacuate the area immediately and call emergency services. Don’t use electronics or flames. Follow gas leak detection protocols and stay clear until professionals confirm it’s safe to return.
Final Thoughts
When your water heater stops working, every minute matters—especially if you’re dealing with no hot water, leaks, or unusual noises. While a few troubleshooting steps can help you identify what’s wrong, urgent water heater problems often point to larger issues that need a trained eye to fix safely and correctly. The fastest way to avoid water damage and restore reliable hot water is to get the right diagnosis early.
At DNA Honest Plumbing, we handle urgent water heater issues with straightforward answers and dependable repairs. If you need immediate help, schedule 24/7 emergency plumbing services or request fast emergency plumbing solutions. For water heater-specific service, we provide water heater repair and, when replacement is the smarter long-term option, professional water heater installation.
If your water heater is leaking, repeatedly losing heat, or you’re not sure what the next safe step is, contact us now and we’ll help you get it resolved quickly: Contact DNA Honest Plumbing