Skip to content
Protect yourself with gloves, boots, coveralls, goggles, and a P100 respirator. Stop the backup fast by shutting off water and avoiding all drains. Contain the mess with closed doors, 6-mil plastic barriers, and HVAC off. Document everything with photos, video, and an inventory for insurance. Pump or wet-vac sewage, bag debris, and toss porous items and exposed food/meds. Scrub, disinfect, and dry with fans and dehumidifiers to prevent mold. Keep going to learn the key red flags that mean you should call a pro.
Key Takeaways
- Shut off the main water supply, stop using all drains, and block affected fixtures to prevent further sewage backup.
- Wear proper PPE: nitrile gloves, rubber boots, disposable coveralls, sealing goggles, and a fitted P100 respirator for aerosols.
- Contain contamination by sealing door gaps, hanging 6-mil plastic barriers, protecting exit paths, and turning off HVAC to limit spread.
- Remove standing sewage with a pump or wet/dry vac, bag waste leak-proof, and discard porous items like carpets and upholstery.
- Clean with detergent, disinfect using an EPA-registered product, dry fast with fans/dehumidifiers, and call professionals if sewage returns or reaches electrical/HVAC.
Safety First: PPE for Sewage Backup Cleanup
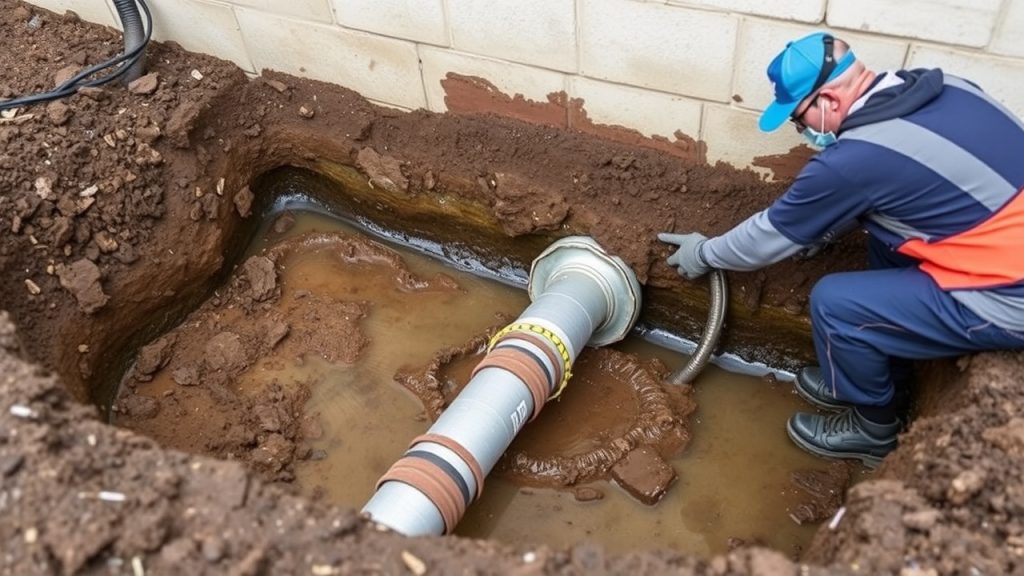
Before you touch anything, ask yourself: are you dressed to keep contaminated water off your skin and out of your lungs? Sewage carries bacteria, viruses, and irritants, so treat the area like a biohazard and plan your personal protective setup before you enter.
Start with waterproof, chemical-resistant gloves (nitrile under heavier rubber works well), plus knee-high rubber boots you can disinfect. Wear disposable coveralls with taped cuffs to block splashes and keep your clothes clean.
Add eye protection that seals, like goggles, and a face shield if you’ll handle wet materials. For breathing, choose a properly fitted respirator; a P100 filter helps against aerosols and dust, and it beats a loose paper mask.
Keep hair covered, remove jewelry, and set a “clean zone” for donning and doffing. Your equipment choices should match splash risk, odor, and how long you’ll work.
Stop the Sewage Backup Fast (Shutoffs and Drains)
Next, you’ve gotta stop the backup at the source by locating your main water shutoff and turning it off.
Stop using all drains right away so you don’t push more wastewater into the system.
Block off affected fixtures—close toilet lids, tape off sinks or tubs, and keep everyone from using them until the line is cleared.
Locate Main Water Shutoff
Where’s your main water shutoff when a sewage backup starts spreading? If you don’t know, you’ll lose precious minutes. Find the main valve now, before pressure keeps feeding fixtures and pushing wastewater around.
Start at the point where the water service line enters your home—often a basement wall, crawlspace, garage, or utility closet. Look for a round wheel handle or a lever-style ball valve; tag it so anyone can spot it fast.
If you can’t locate it indoors, check near the street by the curb box or meter pit, and note the shutoff location. Test it gently to confirm it turns, then reset it fully open.
Keep a wrench nearby for tight valves.
Stop Using All Drains
As soon as you spot a sewage backup, stop using every drain and water fixture—don’t flush toilets, run sinks, shower, or start the dishwasher or washer.
Any added water increases pressure in the line and can push contaminated waste farther into your home, worsening damage and cleanup.
Tell everyone in the house right away, including kids and guests, so nobody “just rinses something quickly.”
If you’ve already located the main water shutoff, keep it off unless you must run a small amount of water for safety.
Then wait for the line to be cleared before resuming normal use. This immediate pause is simple but powerful sewage backup prevention.
After the emergency, commit to routine drain maintenance so slow drains and recurring clogs don’t escalate into another backup.
Block Off Affected Fixtures
Once you’ve stopped all water use, block off the fixtures tied to the backup so sewage can’t surge back into open drains.
Plug tubs, showers, and floor drains with tight rubber stoppers, and close sink strainers if they seal well. For toilets, don’t flush; lower the lid and tape it shut to prevent accidental use.
If you’ve got a cleanout cap inside, tighten it, but don’t force damaged threads. Place plastic sheeting and towels around the bases to catch seepage, then mark the area with tape so no one removes plugs.
Keep kids and pets away from affected fixtures. These quick barriers buy time while you diagnose the clog or wait for a pro to arrive.
Contain the Mess and Protect Clean Areas
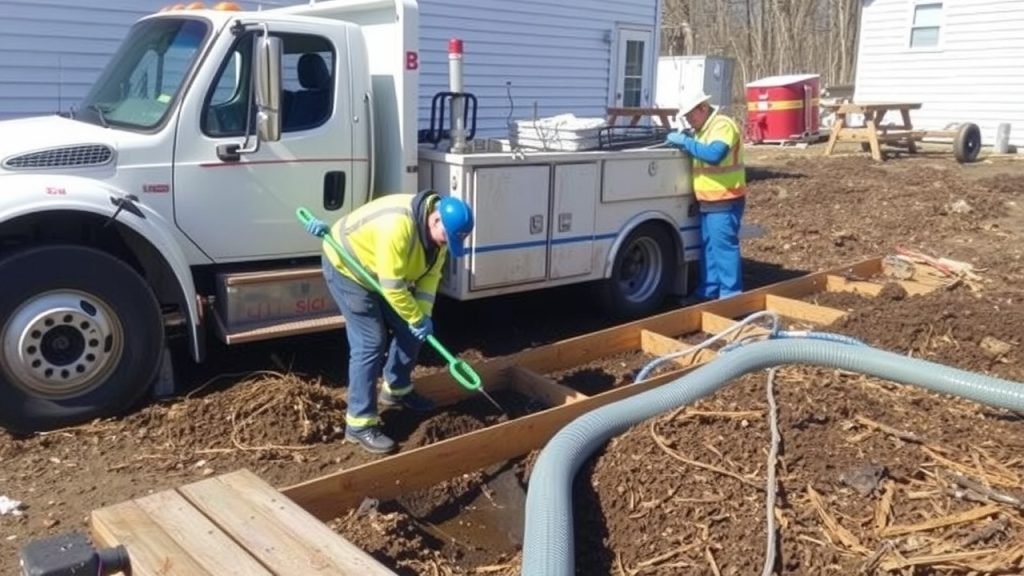
Before you start any cleanup, contain the sewage to keep it from spreading into clean rooms and soaking into porous materials.
Set up containment methods right away: close interior doors, cover gaps with painter’s tape, and hang 6-mil plastic sheeting from floor to ceiling to create protective barriers. If you can, create a single entry point so you don’t track contamination through the house.
Protect clean areas by laying plastic or contractor paper along the route you’ll use to exit, then place absorbent pads or old towels at the threshold to catch drips.
Lay plastic or contractor paper on your exit path, and use towels or absorbent pads at thresholds to catch drips.
Use a wet/dry vac only on hard surfaces after you’ve blocked off migration, and keep airflow from pushing odors and aerosols into other rooms by turning off HVAC and placing a box fan in a window exhausting outdoors.
Bag contaminated items immediately and tie bags shut securely.
Document Sewage Backup Damage for Insurance
Once you’ve contained the mess, start documenting the sewage backup damage so your insurance claim doesn’t stall.
Take clear photos and videos of affected rooms and belongings, then create an itemized inventory of what’s damaged or destroyed.
Save every cleanup and repair receipt, including equipment rentals and professional services, to support your reimbursement.
Photograph And Video Evidence
A clear photo and video record can make or break your sewage backup insurance claim, so start documenting the damage right away. Use photographic documentation before you move anything, then continue as cleanup progresses. Shoot wide angles to show entire rooms, then close-ups for stains, waterlines, and overflow points. For video recording, narrate the date, time, and what you’re showing, and walk slowly to avoid blur. Capture serial numbers and model labels when visible, and include exterior shots that show where water may have entered.
| Capture this | Why it helps |
| Wide room shots | Proves scope |
| Close-up damage | Shows severity |
| Waterline marks | Confirms level |
| Source/overflow area | Supports cause |
| Dated narration | Adds context |
Create An Itemized Inventory
Inventory is your claim’s backbone, so build a clear, item-by-item list of everything the sewage backup damaged or contaminated.
Walk room by room and write down each item’s name, brand, model, size, and approximate age. Note whether it’s soaked, stained, warped, or a total loss, and separate “damaged” from “must be discarded” due to contamination.
Use an inventory checklist to stay consistent and avoid missed items. For furniture and appliances, record serial numbers and where you bought them.
For porous materials like rugs, drywall, and mattresses, flag them as high-risk and describe the exposure.
Gather essential tools—tape measure, flashlight, gloves, and a notepad or phone app—so you can document details accurately and quickly.
Preserve Cleanup Receipts
Every cleanup receipt you save can directly increase what your insurer reimburses after a sewage backup.
Keep receipts for pumps, disinfectants, protective gear, dumpsters, hotel stays, laundry, and professional remediation. If you pay cash, request a written invoice with dates, addresses, and a clear description of work performed.
Store everything in one place: a folder, an envelope, or a digital scan backed up to the cloud.
Photograph receipts immediately so ink doesn’t fade, and label files by room or task to match your itemized inventory. Track mileage and hours if your policy allows it, but don’t guess—log it daily.
When you submit insurance claims, attach receipts to prove cleanup costs and reduce disputes or delays.
Remove Sewage Water and Trash (What to Toss)
Once you’ve confirmed it’s safe to enter, start by removing standing sewage water and any loose debris so contamination doesn’t spread to clean areas.
Use a wet/dry vac or pump if you have one, and move waste in sealed, leak-proof bags. Work from the exit inward so you don’t track污水 through the space.
Next, sort what you can save versus what you must toss. Follow local sewage disposal guidelines for where to dump collected water and how to bag solids.
Use hazardous material identification to flag items that can’t go in regular trash, such as chemical containers, batteries, or sharps.
Throw out porous items that absorbed sewage: carpet padding, rugs, upholstered furniture, mattresses, stuffed toys, cardboard, and paper goods.
Discard opened food, pet food, and any medicines stored below the flood line.
Keep nonporous items like metal, glass, and hard plastic for later cleaning, and store them in a separate bin.
Disinfect and Dry Sewage Backup Areas to Stop Mold
After you’ve cleared out the sewage water and contaminated debris, you need to disinfect all affected surfaces and dry the space fast to keep bacteria and mold from taking hold.
Start by ventilating: open windows, run fans, and use a dehumidifier if you have one. Scrub hard surfaces (concrete, tile, metal, sealed wood) with hot water and detergent to remove grime so disinfectants can work.
Then apply an EPA-registered disinfectant labeled for sewage/biological contamination, following dwell time and dilution directions exactly.
For sanitation techniques, work from clean to dirty areas and change rags often to avoid spreading contamination.
Remove and separately wash salvageable fabrics on the hottest cycle with detergent; dry them completely. Pull up wet rugs and padding and dry subfloors.
Keep humidity below 50% and check hidden spots behind baseboards and under sinks. Fast drying is your best mold prevention.
Call a Pro for Sewage Backup Repair (Red Flags)
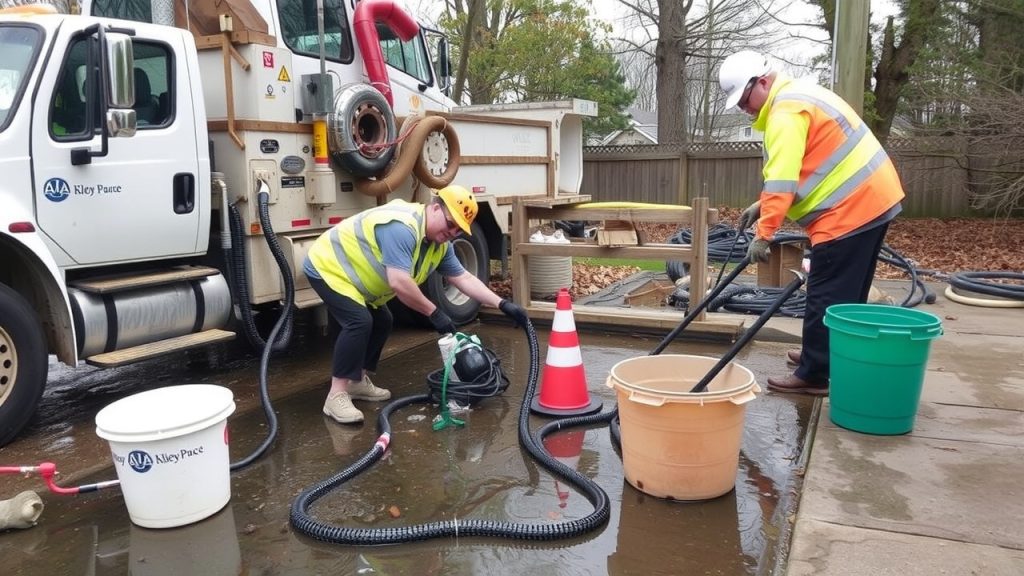
Fast cleanup and thorough disinfection go a long way, but some sewage backup situations require professional help to protect your health and prevent hidden damage.
If you notice sewage returning after you’ve cleared a clog, you’re likely dealing with a main line blockage or collapsed pipe that needs specialized tools.
Watch for warning signs like wastewater coming up in multiple drains, gurgling toilets, floor drain overflow, or soggy patches in the yard. Strong, persistent odors can also mean contamination has spread into wall cavities or under flooring.
If water reached electrical outlets, your HVAC system, or insulation, don’t keep cleaning—stop and call a pro.
You should also get help when the backup covers a large area, includes black water, or you have kids, seniors, or anyone immunocompromised at home.
A professional assessment can locate the source, confirm what materials must be removed, and document damage for insurance.
Frequently Asked Questions
How Long Does a Typical Sewage Backup Repair Take?
You can expect a typical duration of 1–3 days, but it varies. Your repair timeline depends on clog severity, pipe damage, drying needs, and permits. If contamination spreads, you’ll likely need up to a week.
What Causes Recurring Sewage Backups in a Home?
Recurring sewage backups happen when you’ve got clogged drains, damaged sewer lines, or poor pipe slope. You’ll often face tree roots invading pipes, grease buildup, or flushing debris, which restricts flow and triggers repeated blockages.
Will Sewage Backup Damage Affect My Home’s Resale Value?
Yes, sewage backup damage can lower your home’s resale value if you don’t fully remediate it. You’ll face scrutiny during a property inspection, and buyers may demand repairs, credits, or walk away if odors persist.
Are There Health Symptoms to Watch for After Exposure?
Yes—you should watch for exposure symptoms like nausea, vomiting, diarrhea, stomach cramps, fever, cough, wheezing, headaches, dizziness, eye/skin irritation, and rashes. If symptoms worsen, you’ve got health risks; contact a clinician promptly, especially kids.
How Can I Prevent Future Sewage Backups Long-Term?
You can prevent long-term sewage backups by scheduling preventive maintenance and regular inspections, avoiding flushing wipes/grease, installing a backwater valve, clearing roots, maintaining cleanouts, and upgrading old lines so your system can’t clog.
Final Thoughts
You’ve got this, but you can’t rush sewage backup repair. Put safety first with proper PPE, stop the flow at the shutoffs, and block off clean areas before anyone tracks contamination through your home. Document damage thoroughly for insurance, remove wastewater and ruined porous materials, then disinfect and dry every affected surface to prevent mold, odors, and long-term structural issues. When you see signs of structural damage, widespread contamination, recurring backups, or any electrical or HVAC involvement, that’s your cue to stop DIY and bring in a qualified professional.
If you’re facing a sewage backup in Metro Detroit or the surrounding areas, DNA Honest Plumbing is ready to help with professional drain cleaning, targeted cabling of sewer lines, detailed camera sewer inspections, and powerful hydro-jetting to clear tough blockages. Our licensed team provides around-the-clock 24/7 emergency plumbing services and full-service plumbing solutions to restore sanitary conditions safely and document the work for your records.
Don’t wait for a backup to spread into clean rooms or return a second time. If you’re dealing with an active sewage issue—or want to prevent the next one—reach out to DNA Honest Plumbing today. Learn more about who we are on our About Us page, or request immediate help and schedule service through our Contact Us form so we can protect your home, your health, and your peace of mind.