Skip to content
If your water heater isn’t delivering hot water, start by checking the power supply to make certain it’s receiving electricity. Verify the thermostat settings; they should be around 120°F for comfort. Flushing the tank regularly can help, along with replacing the anode rod every few years. If you’ve got a gas heater, relighting the pilot light might be necessary. Keep an eye out for leaks and consider insulating cold pipes. There’s more you can do to troubleshoot effectively!
Key Takeaways
- Check the power supply by inspecting electrical connections, resetting circuit breakers, or replacing blown fuses to ensure proper functionality.
- Adjust thermostat settings for optimal performance, ensuring it’s calibrated correctly to the desired temperature.
- Flush the water heater tank periodically to remove sediment buildup, improving efficiency and extending the heater’s lifespan.
- Inspect for leaks around pipes and valves, tightening connections or using sealant to prevent water loss.
- Relight the gas pilot light if it’s out, ensuring safety procedures are followed, and seek professional help if needed.
Is Your Water Heater Getting Power? Check the Supply?
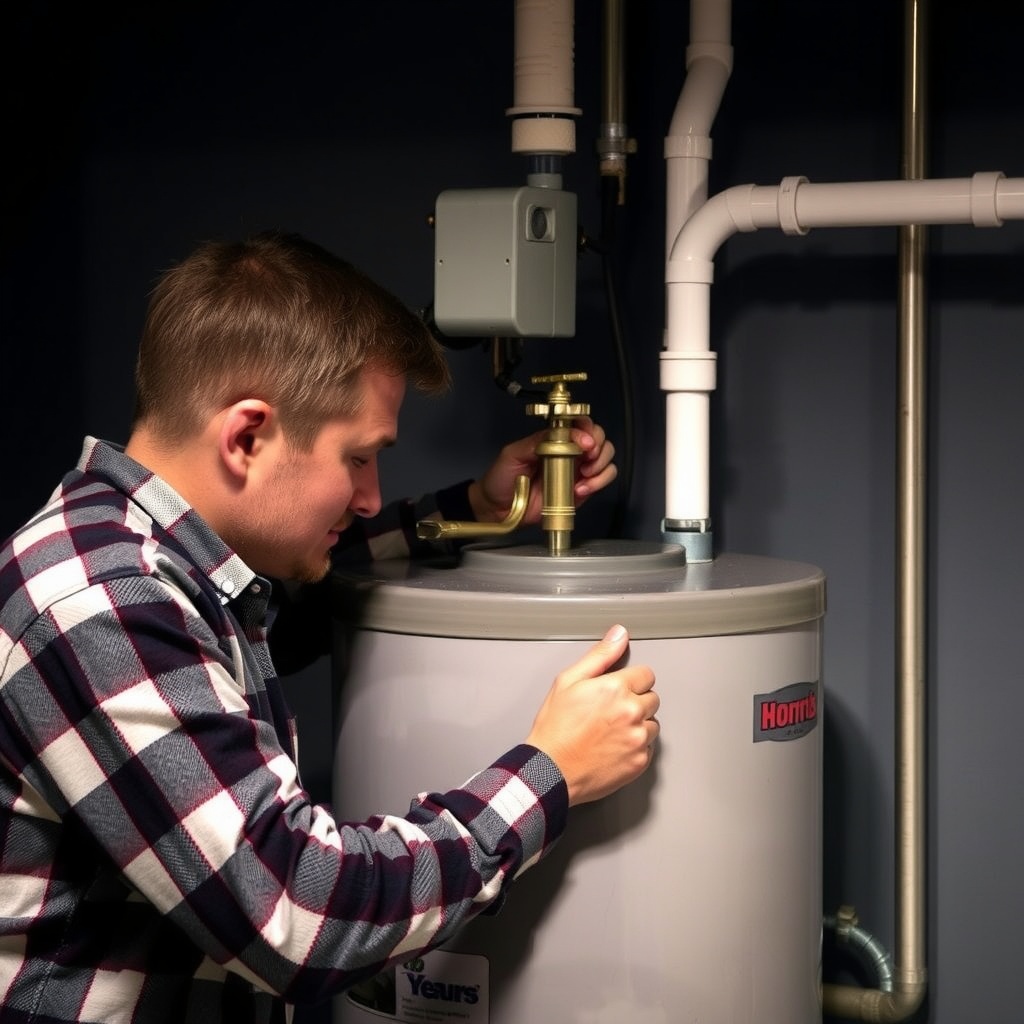
Have you checked if your water heater is getting power? If you’re facing hot water issues, the first step is to verify it’s receiving electricity.
Start by inspecting the electrical connections at the heater. Often, loose or damaged wires can lead to power issues, preventing your heater from operating.
Inspect the electrical connections at your water heater; loose or damaged wires can disrupt power and halt operation.
Next, look for a tripped circuit breaker or blown fuse in your electrical panel. Resetting the breaker or replacing the fuse might resolve the problem.
If everything seems intact but your heater still isn’t working, it’s wise to consult a professional. They can identify more complex electrical problems that might be affecting your water heater’s performance.
Don’t overlook these steps; they can save you time and money in the long run.
Are Your Thermostat Settings Correct?
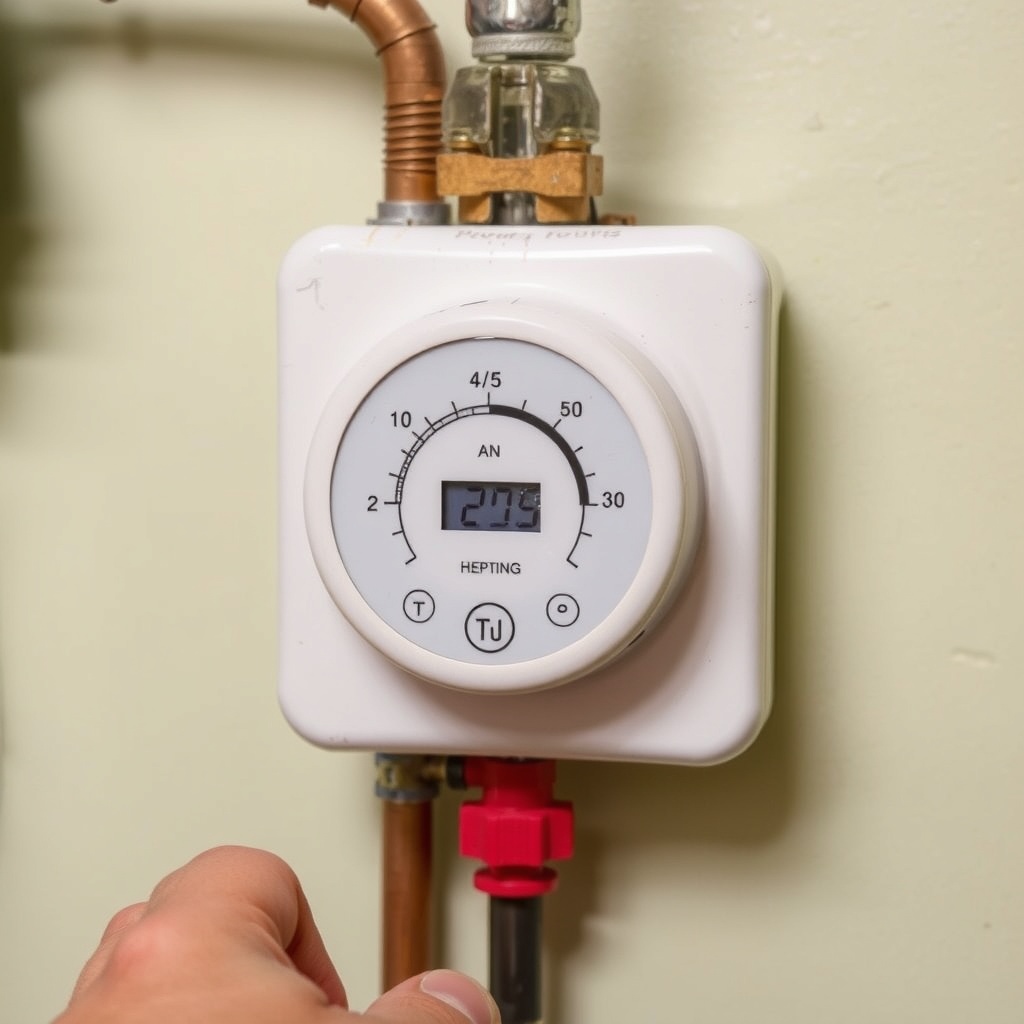
Could your thermostat settings be the culprit behind your lukewarm showers? It’s crucial to verify that your thermostat is properly calibrated and set to the right temperature. If it’s too low, your showers won’t be as hot as you’d like. Here’s a quick reference for ideal settings:
| Thermostat Setting | Description |
| 120°F | Ideal for comfort |
| 130°F | Good for sanitizing |
| 140°F | Risk of scalding |
Check your settings, and adjust as needed. Remember, a simple adjustment could enhance your water heater’s performance. If you’re unsure about thermostat calibration, consult your user manual or a professional for assistance. Enjoy those hot showers!
How to Flush Your Water Heater Tank
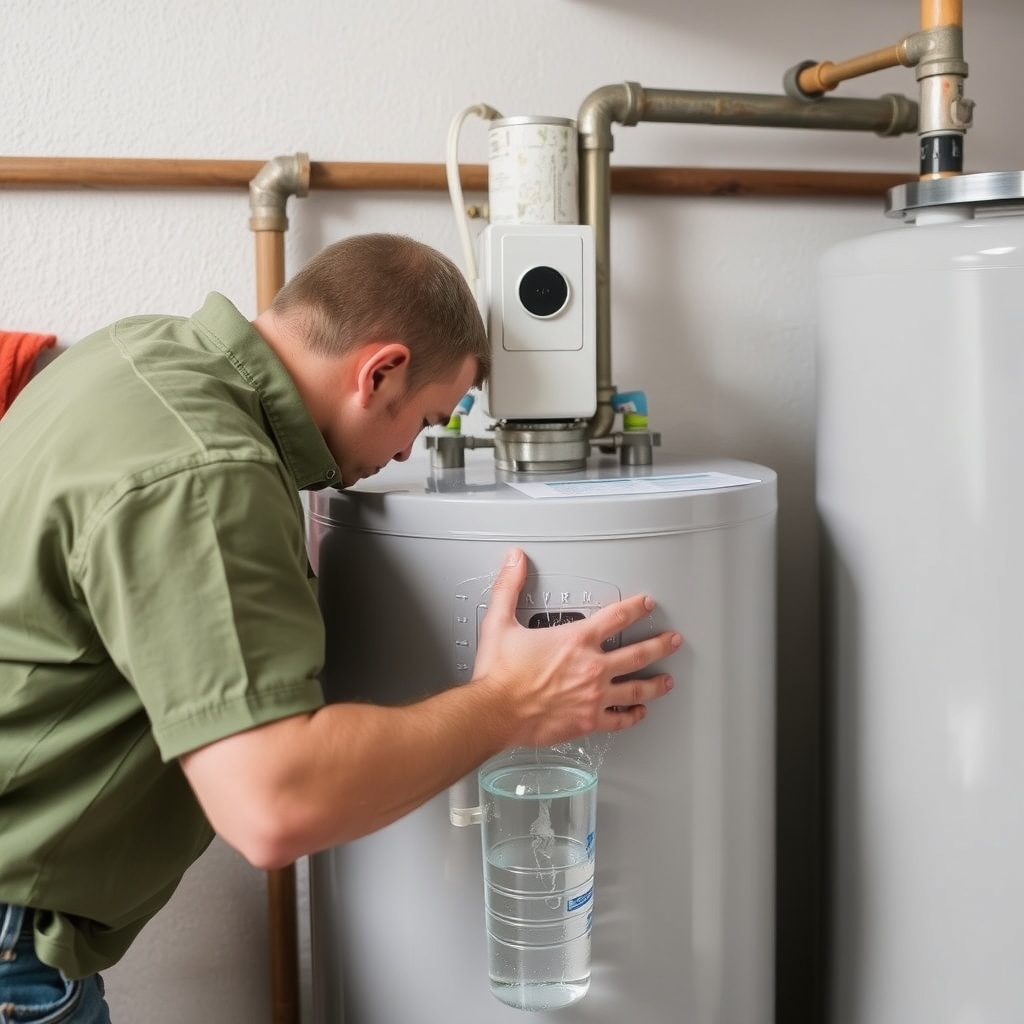
Flushing your water heater tank is essential for maintaining its efficiency and lifespan.
First, you’ll need a few tools to get started, and then you can follow a straightforward process to flush out the sediment.
Don’t forget to take the necessary safety precautions to keep yourself safe during the job.
Tools You Need
To effectively flush your water heater tank, you’ll need a few essential tools. Having the right equipment on hand makes the process smoother and safer.
| Tool | Purpose |
| Wrench Types | To loosen and tighten fittings |
| Pipe Cutters | To cut any damaged or old pipes |
| Hose | To direct water and sediment outside |
Make sure you’ve got adjustable wrenches for various fittings, and pipe cutters if you encounter any old piping that needs replacing. A garden hose will help you drain the tank efficiently. With these tools ready, you’ll be set to tackle the flushing process effectively, ensuring your water heater runs at peak performance.
Flushing Process Steps
Before you begin the flushing process, it’s essential to turn off the power supply to your water heater, ensuring your safety as you work.
Next, locate the drain valve at the bottom of the tank. Attach a garden hose to this valve, directing the other end to a suitable drain or outside. Open the drain valve and let the water flow out.
As the tank empties, you might want to open a hot water faucet in your home to relieve pressure. Once the water runs clear, close the drain valve and remove the hose.
Finally, refill the tank by turning the water supply back on and restore power to your water heater.
Regular water heater maintenance helps prevent sediment buildup, improving efficiency.
Safety Precautions Required
Taking the right safety precautions is essential when flushing your water heater tank. First, make sure you turn off the power supply or gas to your water heater for peak water heater safety. This prevents any accidents during the process.
Next, locate the emergency shutoff valve and close it to stop water flow. Always let the water cool before flushing to avoid burns.
Use protective gear like gloves and goggles to shield yourself from hot water and debris. Additionally, have a bucket ready to catch any water that may spill during the flush.
When Should You Replace Your Anode Rod?
When should you think about replacing your anode rod? The anode rod lifespan typically lasts 3 to 5 years, but it can vary based on water quality and usage. Here are some rod replacement signs to watch for:
| Signs | What to Look For |
| Corrosion | Rusty or corroded rod |
| Water Smell | Unpleasant odor in hot water |
| Discolored Water | Brown or murky water |
| Hot Water Issues | Inconsistent water temperature |
| Frequent Repairs | Ongoing water heater problems |
If you notice any of these signs, it’s time to contemplate replacing your anode rod. Regular checks can help prolong your water heater’s life and maintain water quality.
Identifying and Fixing Common Water Heater Leaks
Water heater leaks can be a hassle, but identifying their sources is the first step to fixing the problem.
You’ll want to check common areas where leaks occur and apply quick repair techniques to stop the issue in its tracks.
Plus, implementing preventative maintenance tips can help you avoid leaks in the future.
Common Leak Sources
Identifying and fixing leaks in your water heater can save you from costly repairs and water damage.
Common leak sources include the inlet and outlet pipes, which might corrode over time. Regular pipe inspection can help you catch these issues before they escalate.
Additionally, check the temperature and pressure relief valve; if it’s malfunctioning, it could leak.
The tank itself can develop cracks, especially in older models, leading to significant water loss.
Finally, don’t overlook the drain valve, which may not be sealed properly.
For effective leak detection, inspect these areas regularly and address any signs of moisture promptly to maintain a healthy water heater and protect your home.
Quick Repair Techniques
Leaks can cause significant issues, but quick repair techniques can help you tackle these problems effectively. Start with basic water heater maintenance by identifying the source of the leak. Use these troubleshooting techniques to guide your repairs:
| Leak Source | Quick Fix |
| Loose drain valve | Tighten or replace the valve |
| Faulty temperature & pressure relief valve | Replace the valve |
| Corroded tank | Use a leak sealant as a temporary fix |
| Loose pipe connections | Tighten connections or use plumber’s tape |
Preventative Maintenance Tips
Regular maintenance can save you time and money by preventing common water heater issues before they escalate.
By committing to routine inspections and small fixes, you can keep your water heater running smoothly.
Here are three essential tips for effective water heater maintenance:
- Check for leaks: Regularly inspect the area around your water heater for any signs of leaks. Small drips can turn into considerable issues if not addressed promptly.
- Flush the tank: Sediment buildup can cause inefficiency. Flushing your tank once a year helps maintain peak performance.
- Inspect the anode rod: Check the anode rod every couple of years. Replacing it when necessary can greatly extend your water heater’s lifespan.
Following these steps can help you avoid costly repairs in the future.
How to Test Your Pressure Relief Valve
Testing your pressure relief valve is an essential step in guaranteeing your water heater operates safely.
To perform pressure valve testing, first, locate the valve on your water heater. Place a bucket underneath the valve to catch any water that may escape. Then, gently lift the lever on the valve to release a small amount of water. If water flows freely, the safety valve function is working properly. If nothing happens or the valve leaks, it may need replacement.
Always make certain you’re wearing protective gear, as hot water can escape during this process. Regular testing helps prevent pressure build-up, assuring your water heater remains efficient and safe.
Don’t skip this important maintenance task!
Could Resetting the Circuit Breaker Solve Your Problem?
If your water heater isn’t working, the circuit breaker might be the culprit.
First, locate the breaker panel in your home, and then follow these simple steps to reset it.
Circuit Breaker Location
Have you checked your circuit breaker? It’s crucial to know where it is, especially if your water heater isn’t working.
Different circuit breaker types might be located in various places, like your basement, garage, or utility room. Regular circuit breaker maintenance can also help prevent issues.
Here are a few tips to make sure you’re prepared:
- Locate the Panel: Familiarize yourself with your home’s electrical panel location.
- Identify Breakers: Label each breaker so you know which one controls your water heater.
- Inspect Regularly: Check for any signs of wear or damage to make certain everything’s functioning properly.
Understanding your circuit breaker’s location can save you time and frustration when problems arise.
Resetting Process Steps
Sometimes, a simple reset of the circuit breaker can resolve your water heater issues. If your water heater isn’t working, start by locating the breaker panel. Look for the breaker that controls your water heater; it might be labeled. Flip it off and wait for about 30 seconds before flipping it back on.
This resetting technique can help clear any temporary faults. If it trips again, that’s a sign you may need further troubleshooting. Check for any visible damage, leaks, or loose wiring.
If you’re unsure, it’s always best to consult a professional. Remember, resetting the circuit breaker is just one of many troubleshooting tips you can use to get your water heater back in working order.
How to Relight Your Gas Water Heater’s Pilot Light?
Wondering how to relight your gas water heater’s pilot light? It’s a straightforward process, but remember to follow gas safety precautions to guarantee your safety. Here’s how to do it:
- Turn Off the Gas: Locate the gas valve and turn it off. Wait a few minutes for any gas to dissipate.
- Access the Pilot Light: Remove the cover to reach the pilot light. You might need a flashlight for better visibility.
- Relight the Pilot: Turn the gas valve back on and use a long lighter to ignite the pilot light. Keep the button pressed for a minute to guarantee it stays lit.
For pilot light troubleshooting, always prioritize safety and consult a professional if unsure.
Are Cold Pipes Affecting Your Water Temperature? Insulate Them
Cold pipes can greatly impact your water temperature, leaving you frustrated when you need a hot shower.
When your pipes are uninsulated, they allow heat to escape, causing delays in hot water delivery and inconsistent temperature regulation.
To fix this, consider using pipe insulation. It’s an easy and effective solution that helps maintain the heat in your water pipes, ensuring you get hot water quickly.
By wrapping your pipes in insulation, you’ll not only improve your shower experience but also save energy and reduce costs over time.
Don’t let cold pipes ruin your comfort—invest in pipe insulation today for a more efficient and enjoyable hot water experience.
When to Call a Plumber for Water Heater Problems?
How can you tell if a water heater issue requires professional help? While some problems are manageable, certain signs indicate you need plumbing services urgently.
Here are three signs you shouldn’t ignore:
- Leaking Water: If you notice water pooling around your heater, it could signal a serious problem that needs immediate attention.
- Strange Noises: Banging or popping sounds often indicate sediment buildup, which can lead to more severe damage if left unchecked.
- Inconsistent Temperatures: If you’re getting scalding hot or ice-cold water unexpectedly, it’s a sign of a malfunction that requires expert intervention.
If you experience any of these signs, don’t hesitate. It’s best to call a plumber to prevent a potential emergency.
Frequently Asked Questions
How Long Should a Water Heater Typically Last?
A water heater typically lasts 10 to 15 years. To extend its lifespan, you should follow maintenance tips like flushing the tank regularly, checking the anode rod, and ensuring proper temperature settings.
What Are Common Signs of a Failing Water Heater?
You’ll notice signs like a leaking tank or strange noises coming from your water heater. If you see rust or sediment buildup, it’s time to investigate further to avoid bigger issues down the line.
Can I Install a Water Heater Myself?
You can install a water heater yourself, but you should follow safety precautions. DIY installation can save money, but make certain you understand local codes and guidelines to avoid potential hazards or costly mistakes.
What Maintenance Does a Water Heater Require?
Your water heater needs regular flushing to remove sediment buildup and anode rod checks every few years to prevent corrosion. Keeping up with these tasks guarantees efficiency and extends the lifespan of your water heater.
Are There Energy-Efficient Water Heater Options Available?
Yes, there are energy-efficient water heater options available. You can choose tankless options for on-demand heating or solar heaters that utilize sunlight, both of which can greatly reduce energy consumption and lower your utility bills.
Final Thoughts
Water heater issues often start small, but they can quickly turn into bigger problems if they’re ignored. Checking power, thermostat settings, sediment buildup, and early signs of leaks can help you restore hot water faster and avoid unnecessary damage. The most important step is knowing when a quick fix is enough and when it’s time to bring in a professional—especially if you’re dealing with leaks, inconsistent temperatures, or a unit that won’t stay running.
If you want reliable help diagnosing and resolving water heater problems, DNA Honest Plumbing is ready to support you with fast, straightforward service. Whether you need a repair to restore performance or a full upgrade for long-term reliability, our team can help with water heater repair and professional water heater installation. If the issue becomes urgent, our 24/7 emergency plumbing services are available to help you prevent water damage and get your home back to normal quickly.
To request service or schedule a water heater assessment, contact us through our Contact page or review our complete list of services to find the right solution for your home.